Top Tips for Capturing Stunning HDR Photos
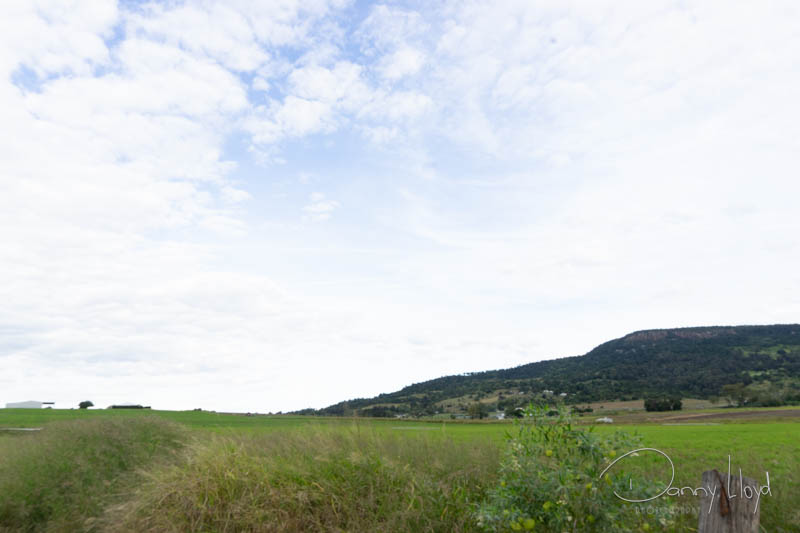
1/100, F13, 320 iso 24mm
Over exposed to capture the foreground
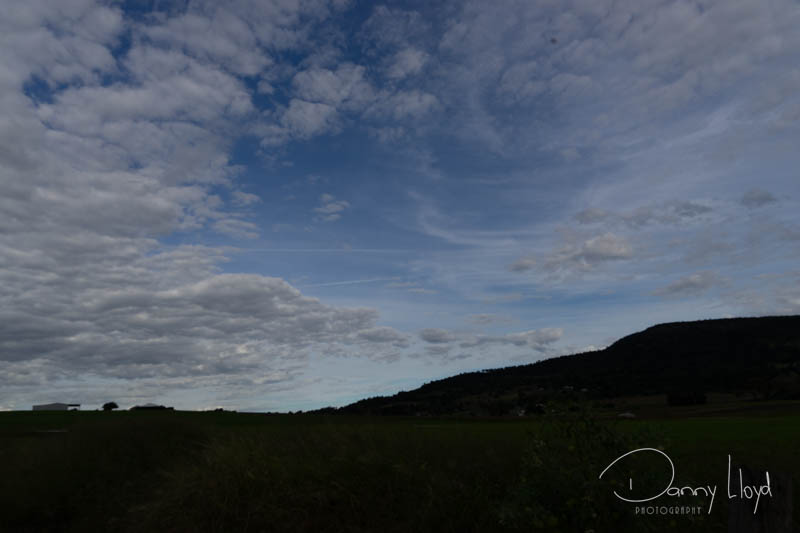
1/800, F13, 320 iso, 24mm
Under exposed to capture the sky and clouds
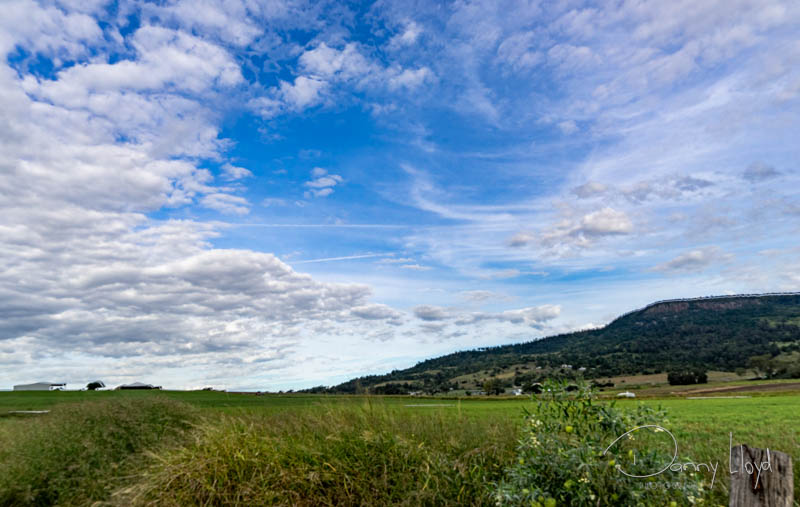
HDR layered in Lightroom
Captured the brilliance of a beautiful sunny day with stunning cloud formations. This final HDR image, layered and auto-joined in Lightroom, brings every detail to life in perfect harmony.
What is HDR (High Dynamic Range).
HDR (High Dynamic Range) is a photography technique that combines multiple images taken at different exposures to create a final image with greater detail in both the shadows and highlights. It enhances the dynamic range, making scenes appear more vibrant and closer to what the human eye perceives
Most camera have this as a builtin feature with many different settings.
Some of the Sony settings:
- cont. bracket 0.5ev 3 images and 5 images
- cont. bracket 0.3ev 3 images and 5 images
In-camera HDR functionality.
In these modes, the camera typically takes 3 or 5 photos, adjusting the exposure by increments of 0.5 or 0.3 for each shot. The main advantage of this method is its speed, making it ideal for capturing handheld HDR images quickly and efficiently.
Using Zebra mode with HDR.
I also use a feature called Zebra. As the name suggests, it overlays 45-degree striped patterns across the image directly in the camera, highlighting the exposure levels of different areas.
If time allows, I prefer to manually adjust the exposure, utilising the Zebra feature. This approach helps me ensure that the foreground, midground, background, and sky are all properly exposed for a balanced and well-detailed image.
Using Lightroom to merge multiple photos to HDR.
Steps to merging your photos together.
- Select all your photos that you want to merge to HDR.
- Then click the right button and select Photo Merge -> HDR
Was this helpful?